Thursday, January 16, 2014

Lego Party


This was one of my favorite parties to prepare for.  I had fun looking all of Pinterest collecting ideas.

The marshmallow pops above were a hit with everyone, mostly because of just how darn cute they were.  To make these I cut large marshmallows into thirds and then I used the tip of a frosting decorating tool to cut the small cylinders for the tops.  They were sticky on one side so I used that side to stick them to the top of another large marshmallow.  This made them look like a white Lego.  Next, I used the Wilton candies in yellow to dip them.  Personally, I use a small crock pot to melt the candies; I feel I have a little more control of the melting.  Dipping them can be a little tricky at first until you get used to it.  To make the black eyes and mouth I used the Duff's Black Matte Candy Writer.  I found that at Michaels.  It was my first time using it and I thought it worked great. (Don't forget to use your coupon!)


The banner was pretty easy to make.  I found it at Walmart, but it didn't come with letters on it; I downloaded the Lego thick font from Urbanfonts.com.  Then after printing it I very carefully cut them out and taped them on.  See, super easy!


For some other easy (and cheap) decorations I used 18 x 12 construction paper and made Lego shapes that I hung around the room.


I also used some of the many many Legos my son already had to make a holder for my forks and spoons.  I actually made two, one for the food table and one for the cake table.  The one for the cake table was much smaller and didn't have the Lego men around it.  


This was probably my favorite decoration for the party, I made his name and the number 6 (that's how old he was turning) from his Legos.  If you look back at the banner picture you can see I placed it under the banners.  This was a little more tricky to make, but it just took some playing around with the shape of the letters to make it look right.


This is the cake and thank you gift table.  Can you see the cute Lego head marshmallow pops?  Next to those is the smaller fork holder I made.  I also used a Lego sorter my son had as decoration.  Next to that I placed the thank you bags.


I think the cake turned out super cute.  A friend of mine made it.  To the left you can see the little holder?  Also notice that I used red, green, yellow and blue plates and forks.  Most of them, as well as the table clothes, I buy from The Dollar Store.  I also bought some primary color straws to go with the theme, but honestly they really weren't used.


I made the thank you bags by cutting small circles out of extra bags.  I found the bags at Michaels (use your coupon).  Okay, I'm going to admit these were a pain in the butt to make but they did look super cute.  I sat one night and traced circles on extra bags that I cut apart and then cut those out.  Disclaimer: This DIY'er doesn't own a Silhouette or Cricut.  I know, I know!  

To get the circles to stick out and not sit flush on the bags (giving the effect of a lego) I used double sided foam tape squares.  I cut them into small pieces so I wouldn't have to buy much.
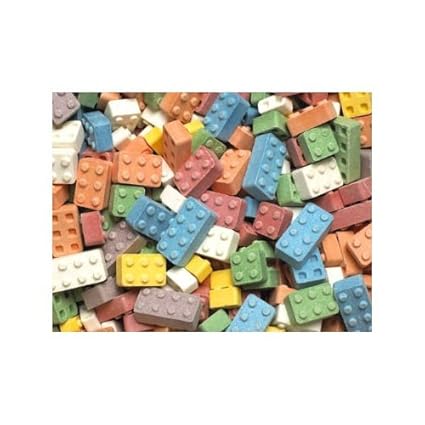
Inside the bags,  I put bop-it balloons that I found at The Dollar Store, some little candies I found at the supermarket and the best part were these Lego candies I found on Amazon.  They taste so good!  We actually had a lot left over and we're still munching on them.


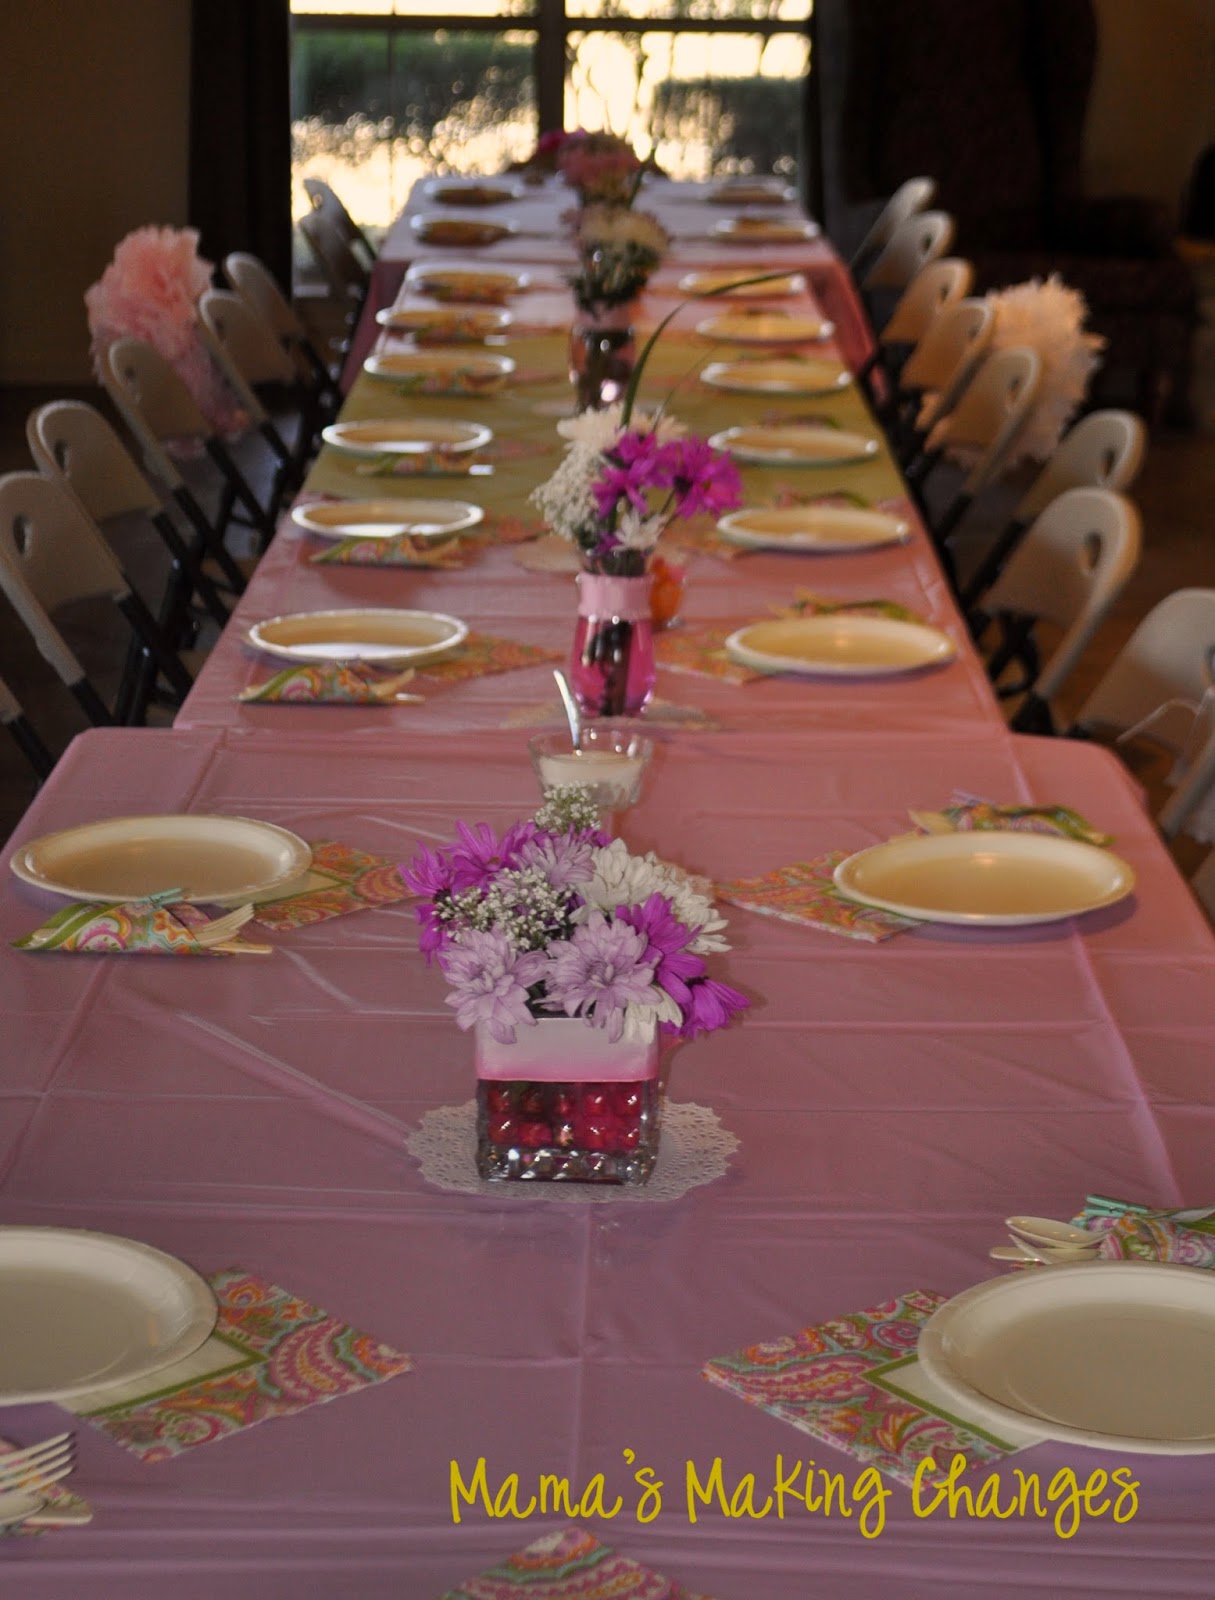
So I sat up some tables with bins of Legos in the middle.  I thought it was a good place for the kids to sit and build and we used these tables for the kids to make their faces for a game we played and to eat cake.


Above you can see one of the cutest touches to the party.  I ordered these yellow lanterns from Oriental Trading Company then I just Google image searched different Lego faces and used a black marker to draw them on!  To hang them I used some thin twine.  (They were also hanging off the fireplace in the banner picture.)


This is one of the games we played, Pin the Head on the Lego man.  This is all over Pinterest.  To make it I made up my own template with construction paper, green for pants, red for the shirt and yellow for the heads.  Then I used a file folder for the hands.  I taped them onto a big black poster board and used a silver sharpie to outline the heads to know where they should go.


Before we played, I had the kids draw their own faces onto the yellow heads.  They had a lot of fun doing this.  I bought a couple of boxes of crayons at The Dollar Tree so I wasn't worried about just tossing them after the party.


Another activity I had for the kids (mostly I was worried about it raining outside and being cold) was a coloring page.  I found the image while doing a Google image search.  I pasted it onto a PowerPoint document and add the text, "Nolan's 6th Birthday Party."


While I was shopping for supplies I stumbled upon a photo booth kit at Walmart.  Super fun!  However, I think the parents found it more entertaining than the kids.


Finally, the cutest little 6 year old ever wore this custom made Lego shirt.  I bought the iron on from AM Magic Designs on Etsy.  The shirt I got at Michaels and I used my teacher discount!  It ironed on beautifully, but the washes after have made it really fade.  So I would suggest ironing it on and saving it for the party.

Saturday, January 11, 2014

Train Party


I'm declaring this week Party Week on my blog!


I'm going to spend the week highlighting some of my favorite parties that I've done for my boys.  I'll admit, they take a lot of work and they totally stress me out, but they are so worth it when I look back at the pictures.  

I'll also confess, that when I was planning these parties and taking pictures for them I had no intention on starting a DIY blog, so the pictures are not always that great and not always on-point for what I should have been focusing on.

One of my earliest party planning experiences was for my then-three year old.  He was really into trains at the time and I was just getting into reading other blogs so I spent hours looking through DIY blogs for ideas (I'm pretty sure this was pre-pinterest for me).

I scavenged the internet looking for scrapbook paper, stickers and pretty much anything else I could find.  I ended up going with the Lionel Train theme in orange and blue.  I wish I had kept record of where I got everything, but unfortunately I didn't and I'm sure by now there are tons of way cuter things out there to choose from. 


Isn't this banner insane!  Looking back at it now, it's a bit overkill and should have been broken up into two separate banners, but at the time I thought it was the bomb digity! To make the triangles, I used Lionel Train scrapbook paper with orange and blue cardstock.  To make the letters, I used the die cut machine at school (I'm an elementary school teacher by day).  However, now with all of the Silhouettes and Cricuts out there I'm sure there's an even easier way to do it.


For the tables, I printed different pictures of trains and used the die cut from school to cut them into puzzle pieces.  I thought it would be a little something fun for the kids to do.  I also used a piece of the Lionel Train scrapbook paper as a center piece on top of a blue tablecloth.  Finally, I placed some of the train whistles that I used as thank you gifts.  (I do remember that I ordered the train whistles from Oriental Trading.)
 
On to food...


If I remember correctly, seeing a version of this train on a blog somewhere (I really wish I could remember the blog) is what gave me most of my inspiration.  I already had these bins in our playroom, so I washed them out and used them as food containers.  To made the wheels, I taped on silver cupcake holders and added a Lionel Train sticker in the center.  I also added some signs with some twine accents and labeled the food.

I turned one of the large red bins upside down and put a blue bin filled with animal crackers on top.  


The next bin was filled with raisins, one of my sons favorites, and I added a sign that said, "Organic Coal."


In the green bin I had pretzel sticks, or "Pretzel Logs."


Finally, in the blue bin, or caboose, I added Chex Mix.


I also dipped marshmallows in chocolate.  I didn't have any round sticks so I used popcicle sticks and added a Lionel Train flag on top using scrapbook paper and stickers.  The white tray I had bought at Target and I added a blue ribbon with a 3D Lionel Train sticker.


I also bought a box of rice crispies from Costco and dipped them in chocolate and a crushed up  Butterfinger candy bars.  I choose Butterfinger because I wanted one that had an orange center.


I also had chocolate covered pretzels (a must at every party).


For the thank you gift table I printed a little note from my son thanking everyone for coming and we gave out wooden train whistles from Oriental Trading.  I also printed a thank you message on labels and put them on the bottom, but they didn't stick very good to the wood.  

Okay, I know I left out the cake...I did that on purpose, because it really wasn't anything spectacular.  What happened was, while we were at Costco picking up food, my son insisted we get a balloon cake.  So we did...


See, nothing to write home about. However, in an effort to make it at least match the party I had them make the balloons blue and orange and then I added sticks with the Lionel Train stickers on top.

So there you have it, a train party that doesn't break the bank and turned out pretty darn cute!


Monday, January 6, 2014

Tea Party Baby Shower

I've been working for weeks to co-host my best friend's tea party themed baby shower.  Her sister, best friend from high school and I did our best to pull together many of our best Pinterest inspired ideas and come up with a few original ideas of our own.


We started by setting up in our community clubhouse. We went back and forth on the best way to arrange the tables, but decided on a beautiful long table on one side of the room.  We covered it with pink table clothes and used a light green one in the center to tie together our main color scheme.  I got a great deal on these at Party City.  While I was picking up the table clothes I stumbled upon the cute napkins that went perfectly with our theme. 
 
When decorating for a party, I make it a point I don't use themed items.  For example, with this party I worked really hard to stay away from any store bought items that said, "It's a Girl" or much of anything premade that was intended for a baby shower.  I think it always looks best when you put things together that are pretty or coordinate rather than are covered with logos or sayings.

 
For the silverware we used those small little clips (the ONLY thing store bought that was intended for a baby shower) to hold the napkins together.  This was one of those ideas that just came to us at the last minute.  It was also twofold, we used the clips in one of the games; the one where every time you catch someone saying the word 'baby' you get to take their clip and the person with the most clips at the end is the winner.


 I just love how it all came together.  Some of the special touches we added down the table were doilies, fresh cut flowers in vases wrapped in the same ribbon we used for the diaper cake, bowls of artificial sweetener, glass flutes with sugar and tiny silver spoons from Party City. 
 
Notice in the picture the pink water in the vases, I'll admit that was an accident that turned out totally AWESOME!  I put the flowers in the vases the day before and some of the flowers were color died that really bright pink, well I guess some of the petals were floating in the water so when I woke up the next morning the water was this pretty color of pink!  Bonus!!!

 
Next, we did something a little different with the pom poms.  We hung them on the backs of some of the chairs rather than hanging them from the ceiling (which was impossibly too tall).

 
We even added one just sitting in a white tray on a coffee table on the other side of the room; where we set up an area for mingling and opening gifts. You can find a really easy tutorial for making these poms at UsefulDIY. The tray I used was one I had at home (I think I got it at Target years ago.)  I also added some pink 12x12 scrapbooking paper from Michaels as an accent on the sides.
 
 
Our food table was packed with some really yummy food, including these cute white chocolate covered pretzel sticks with a pink drizzle and these super cute (and yummy) chocolate dipped pink strawberry wafers.  The idea for the wafers came from The Crazy Life of a Crafty Girl. I also love the bow I added to the clear bowl.  I believe it's little details that make the decorating really come together.
 
 
I was so excited that I had this silver tray tower to use for my little cucumber tea sandwiches.  I added a pink bow to the top to give it a special touch. I might be even more excited that I was able to get my silver shining so pretty (see previous blog post about that).
 
 
My besties sister also made this to-die-for crockpot hot chocolate (recipe found here) and of course, we topped it off with pink and white marshmallows. 
 
Okay, so I have a confession...we didn't really have a useable hot tea pot at our tea party.  I know, big disappointment.  However, I can't say we really missed it.  We had our Keurig ready for heating up water to steep our tea.  It worked out perfectly! (I did have my ceramic tea set to use, but failed to get a good picture.)
 
 
To counter our hot drinks we also served pink lemonade.  There's a really easy recipe for this at Food, Family & Finds.
 
 
So, I have another confession...the container we used for the lemonade went totally berserk on us.  The spout wouldn't stay attached so we used the twine to hold it together.  We balanced it off with some twine at the top to make it look like we wanted it that way. Nice save, if I say so myself!
 
We also realized that the spout was at the very bottom of the container, which made for awkward pouring so we craftily turned over a bowl to sit the container on top of. Again, nice save!
 
On to something a lot easier...water.  My besties sister found these cute coordinating water bottle covers and they were all the hit.  You can visit the NotableAffairs Etsy shop where she bought them.

 
My absolute next favorite part was the beautiful cake and cupcakes made by a great friend of ours. 
 
 
The little pink tea pot on top was just to-die-for.

 
And the details she added to the flowers, what can I say, she went above and beyond.  And the best part, they tasted so yummy.

 
Onto the nonedible cake; the diaper cake.  This was actually the first diaper cake I'd ever done and the first thing I made (other than the invitation) to get the ball rolling on decorating.  I wanted something simple and elegant, well as elegant as a cake made out of diapers can be. 
 
I rolled lots (I didn't count) of diapers and bound them with rubber bands.  To cover the rubber bands and hold them all together I used four different ribbons from Michaels (used my online coupon).  I also found these scrapbooking flowers in their 50 cent bin (yes, I just said that).  What a lucky find was that!  I knew when I saw them they would be perfect.  The flowers actually had this silver alligator clip on the back so they were super easy to attach and my bestie can reuse them!
 
 
This next idea is one of my absolute favorites.  I only wished when I had my baby showers this idea had been around.  It would have made for some entertaining late night diaper changes.
 
 
What you do is put out some sharpies and diapers, a cute little basket and ask the guests to write some cute and/or personal messages on the diapers.  For example, "Call Rachel, she'll help with this one."  or "It's okay, poop is supposed to stink."  I really don't have a specific link to this idea, I actually saw it first at a shower I attended, but I'm pretty sure you can search it on Pinterest.
 
*I do have a disclaimer on this though, our friend, the one that made the beautiful cake, used one from her shower.  At the next diaper change she noticed that her baby had these 'bruises' on her legs. Because of her daughters health concerns she called the doctor who told her to come right in.  When she got there they discovered that it was just the ink from the sharpies that had apparently run when the diaper got wet.  (Might want to make note of that or disclaim that if you choose to use this idea.)* 
 
Finally, we thanked our guest for coming with homemade raspberry lemon sugar scrub.  I got the recipe from Bespangled.  Super easy to make, however I think I added more extract than what they suggested. I put them in 4 ounce mason jars and added a pink ribbon to the lids. We used the Etsy printable to make the 'Thank You for Coming" labels and I glued them onto brown tags I got from Michaels dollar bins.  I used twine to tie them around the jars. 
 
I also had my bestie sign a card and I framed it to put with the gift. I thought that was a nice touch.
 
 
We also had guest write their address on the outside of the envelopes of the thank you cards to make it a little easier for our baby mama when she gets ready to send them out.
 
Hope you found something to inspire or help you with your next baby shower!


Friday, January 3, 2014

Cleaning the Silver

So my bestie is having a baby in February and I'm totally stoked because she's having a GIRL!!! 

I live in a world of constant wrestling, stepping on Legos and showing off.  Lots of testosterone in this house with these boys.

Since she's having a girl I want her baby shower to be as girly and pink as possible without looking like an ad for a Pepto Bismo commercial. 

I pulled out the silver and went to Michaels and bought the most beautiful pink ribbons and flowers I could find to make her shower just lovely.  It's a garden tea party theme, but I'm not going overboard, I promise! (More to come later on the shower, it's not until Sunday.)

Back to the real story, when I pulled out my silver, it was of course tarnished, because as I mentioned earlier, I do not live in a world of frilly pretty things on a day to day basis.  So how do you clean silver without silver cleaner?  To answer that question of course I turned to Pinterest!

I found a post (I can't find it now, should have pinned it), which told me to line my sink in aluminum foil and soak my silver in HOT water and baking soda. Didn't go so well...


My bowl looks like I've soaked it in black dye. So, I tried a different approach.  According to Real Simple, you can use toothpaste, how really simple!  Perfect because I totally had that! I used Colgate White Clean and an old toothbrush I had just for this kind of project.

 
I took out my silver pedestaland went to work covering it in toothpaste (no pictures my hands were covered in it) and then took an old toothbrush and scrubbed using circular motions.  It made the biggest difference...


Look how shiny!

Woot! Woot!  Now my besties shower will be just gorge with all the shiny silver!